Basic Chatbot
- Prerequisites :
- A basic understanding of LLMs is helpful but not necessary
- Time Required : 20 minutes
- Key Takeaways : In this introductory tutorial, you will learn:
- How to create a basic prompt
- How to navigate and use VAKStudio
- How to work with VAKFlow
- How to create & use a basic chatbot
Instructions
In this tutorial, we'll guide you through building a basic chatbot for a food delivery startup called FoodSprint, designed to handle general inquiries. If you're using a free account on VAKX, this tutorial will help you create and deploy a chatbot using the free-tier features. Let’s dive in!
Step 1 : Get started
- Login to VAKStudio
Step 2 : Creating a prompt template
- Navigate to the Prompt Playground tab.
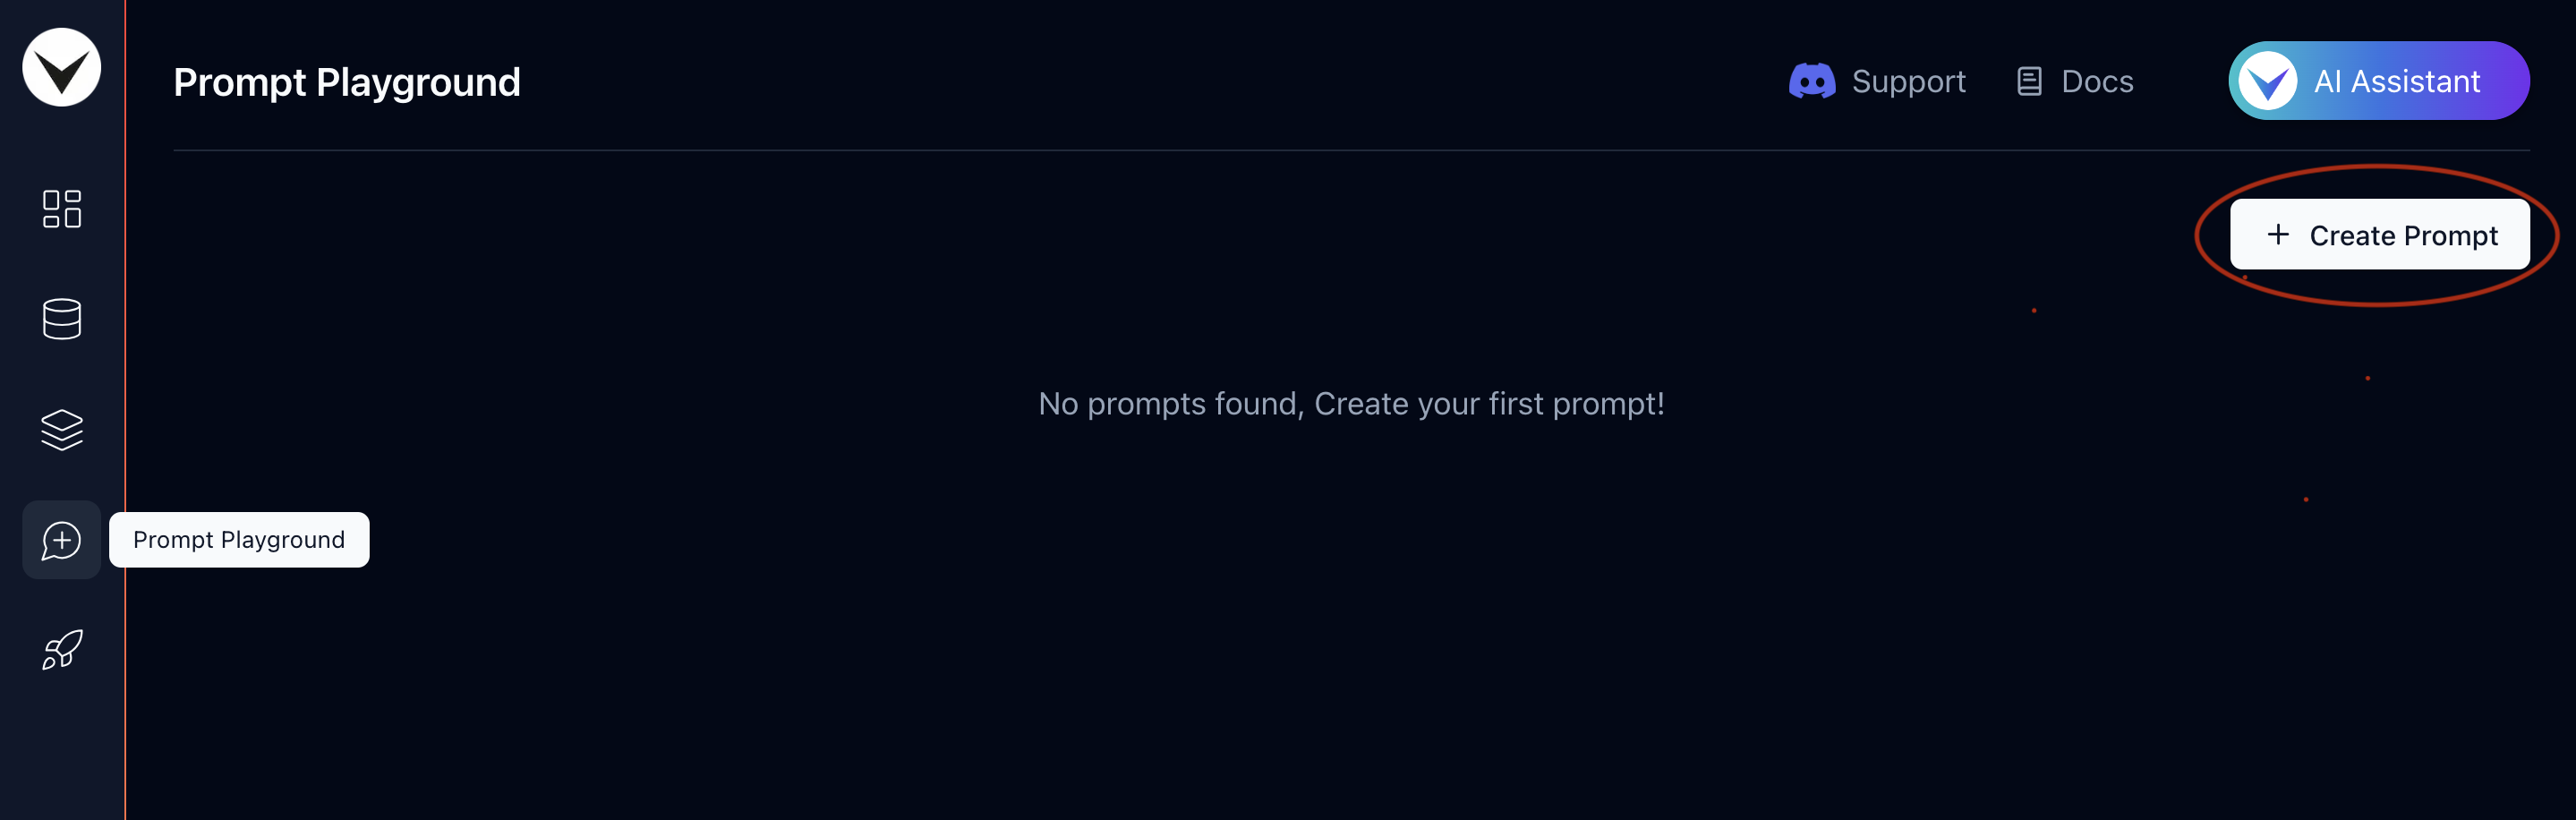
- Click on the "Create Prompt" button at the top-right corner to create a prompt.
- Name the prompt FoodSprint Basic Prompt. You can leave the Description field empty for now.
- Click "Create Prompt" to finalize.
Step 3 : Adding a basic prompt
Prompts are essential when developing your chatbot, as they directly influence how the language models (LLMs) generate responses. The LLM tailors its replies based on the specific prompt you've provided. If your chatbot isn't performing as expected, refining the prompt for your particular use case is key. For detailed guidance on how to improve your prompts, refer to the Best Practices for Prompt Engineering section, where you'll find strategies to enhance prompt effectiveness and fine-tune your chatbot's behavior.
- Once you create a prompt, you will be automatically redirected to the newly created prompt page, where you can configure its settings.
- While there are several options available in the prompt template, for this tutorial, we'll focus on modifying only the "System" prompt at the top.
- In the "System" prompt field, enter the following line:
You are an AI assistant for FoodSprint, a food delivery website. Have basic conversational etiquettes. Your goal is to assist users with questions about FoodSprint using the following details. Do not answer questions beyond the information provided here:

- FoodSprint is a food delivery service operating in Bengaluru, offering delivery from various restaurants in the area.
- We operate 7 days a week from 9 AM to 11 PM.
- Delivery fees depend on the distance and start at $2. Free delivery for orders above $50.
- Estimated delivery times range from 30 to 60 minutes, depending on the restaurant and location.
- We accept payments via credit card, debit card, and FoodSprint Gift Cards.
- To cancel an order, customers must contact support within 5 minutes of placing it.
- Customers can track their orders in real-time using our app.
- Contact our customer support via email at support@foodsprint.com or call us at 123-456-7890.
- We offer a loyalty program where customers earn 1 point for every $10 spent, and 100 points can be redeemed for a $10 discount.

When answering user queries, if a question is outside of these details, respond with: 'I’m sorry, I can only provide information about general FoodSprint services. Visit [FoodSprint](https://foodsprintapp.com) For more info.'

Example user query:
'What are the delivery hours for FoodSprint?'

Bot's answer:
'FoodSprint operates 7 days a week, from 9 AM to 11 PM.'

Do not provide answers beyond this information, even if asked to clarify other topics. Stick to the given data only.
- Click the "Save" button at the top-right corner to save your changes.
The final prompt should resemble the image provided below.

Step 4: Creating a VAKFlow
With the basic prompt set up, it's time to create a simple VAKFlow.
- Navigate to the VAKFlow Playground from the sidebar.
- In the top-right corner, click the "Create VAKFlow" button to initiate a new VAKFlow.
- Name the flow FoodSprint Basic VAKFlow and leave the description field blank for now.
- Finally, click the "Create VAKFlow" button to complete the process.

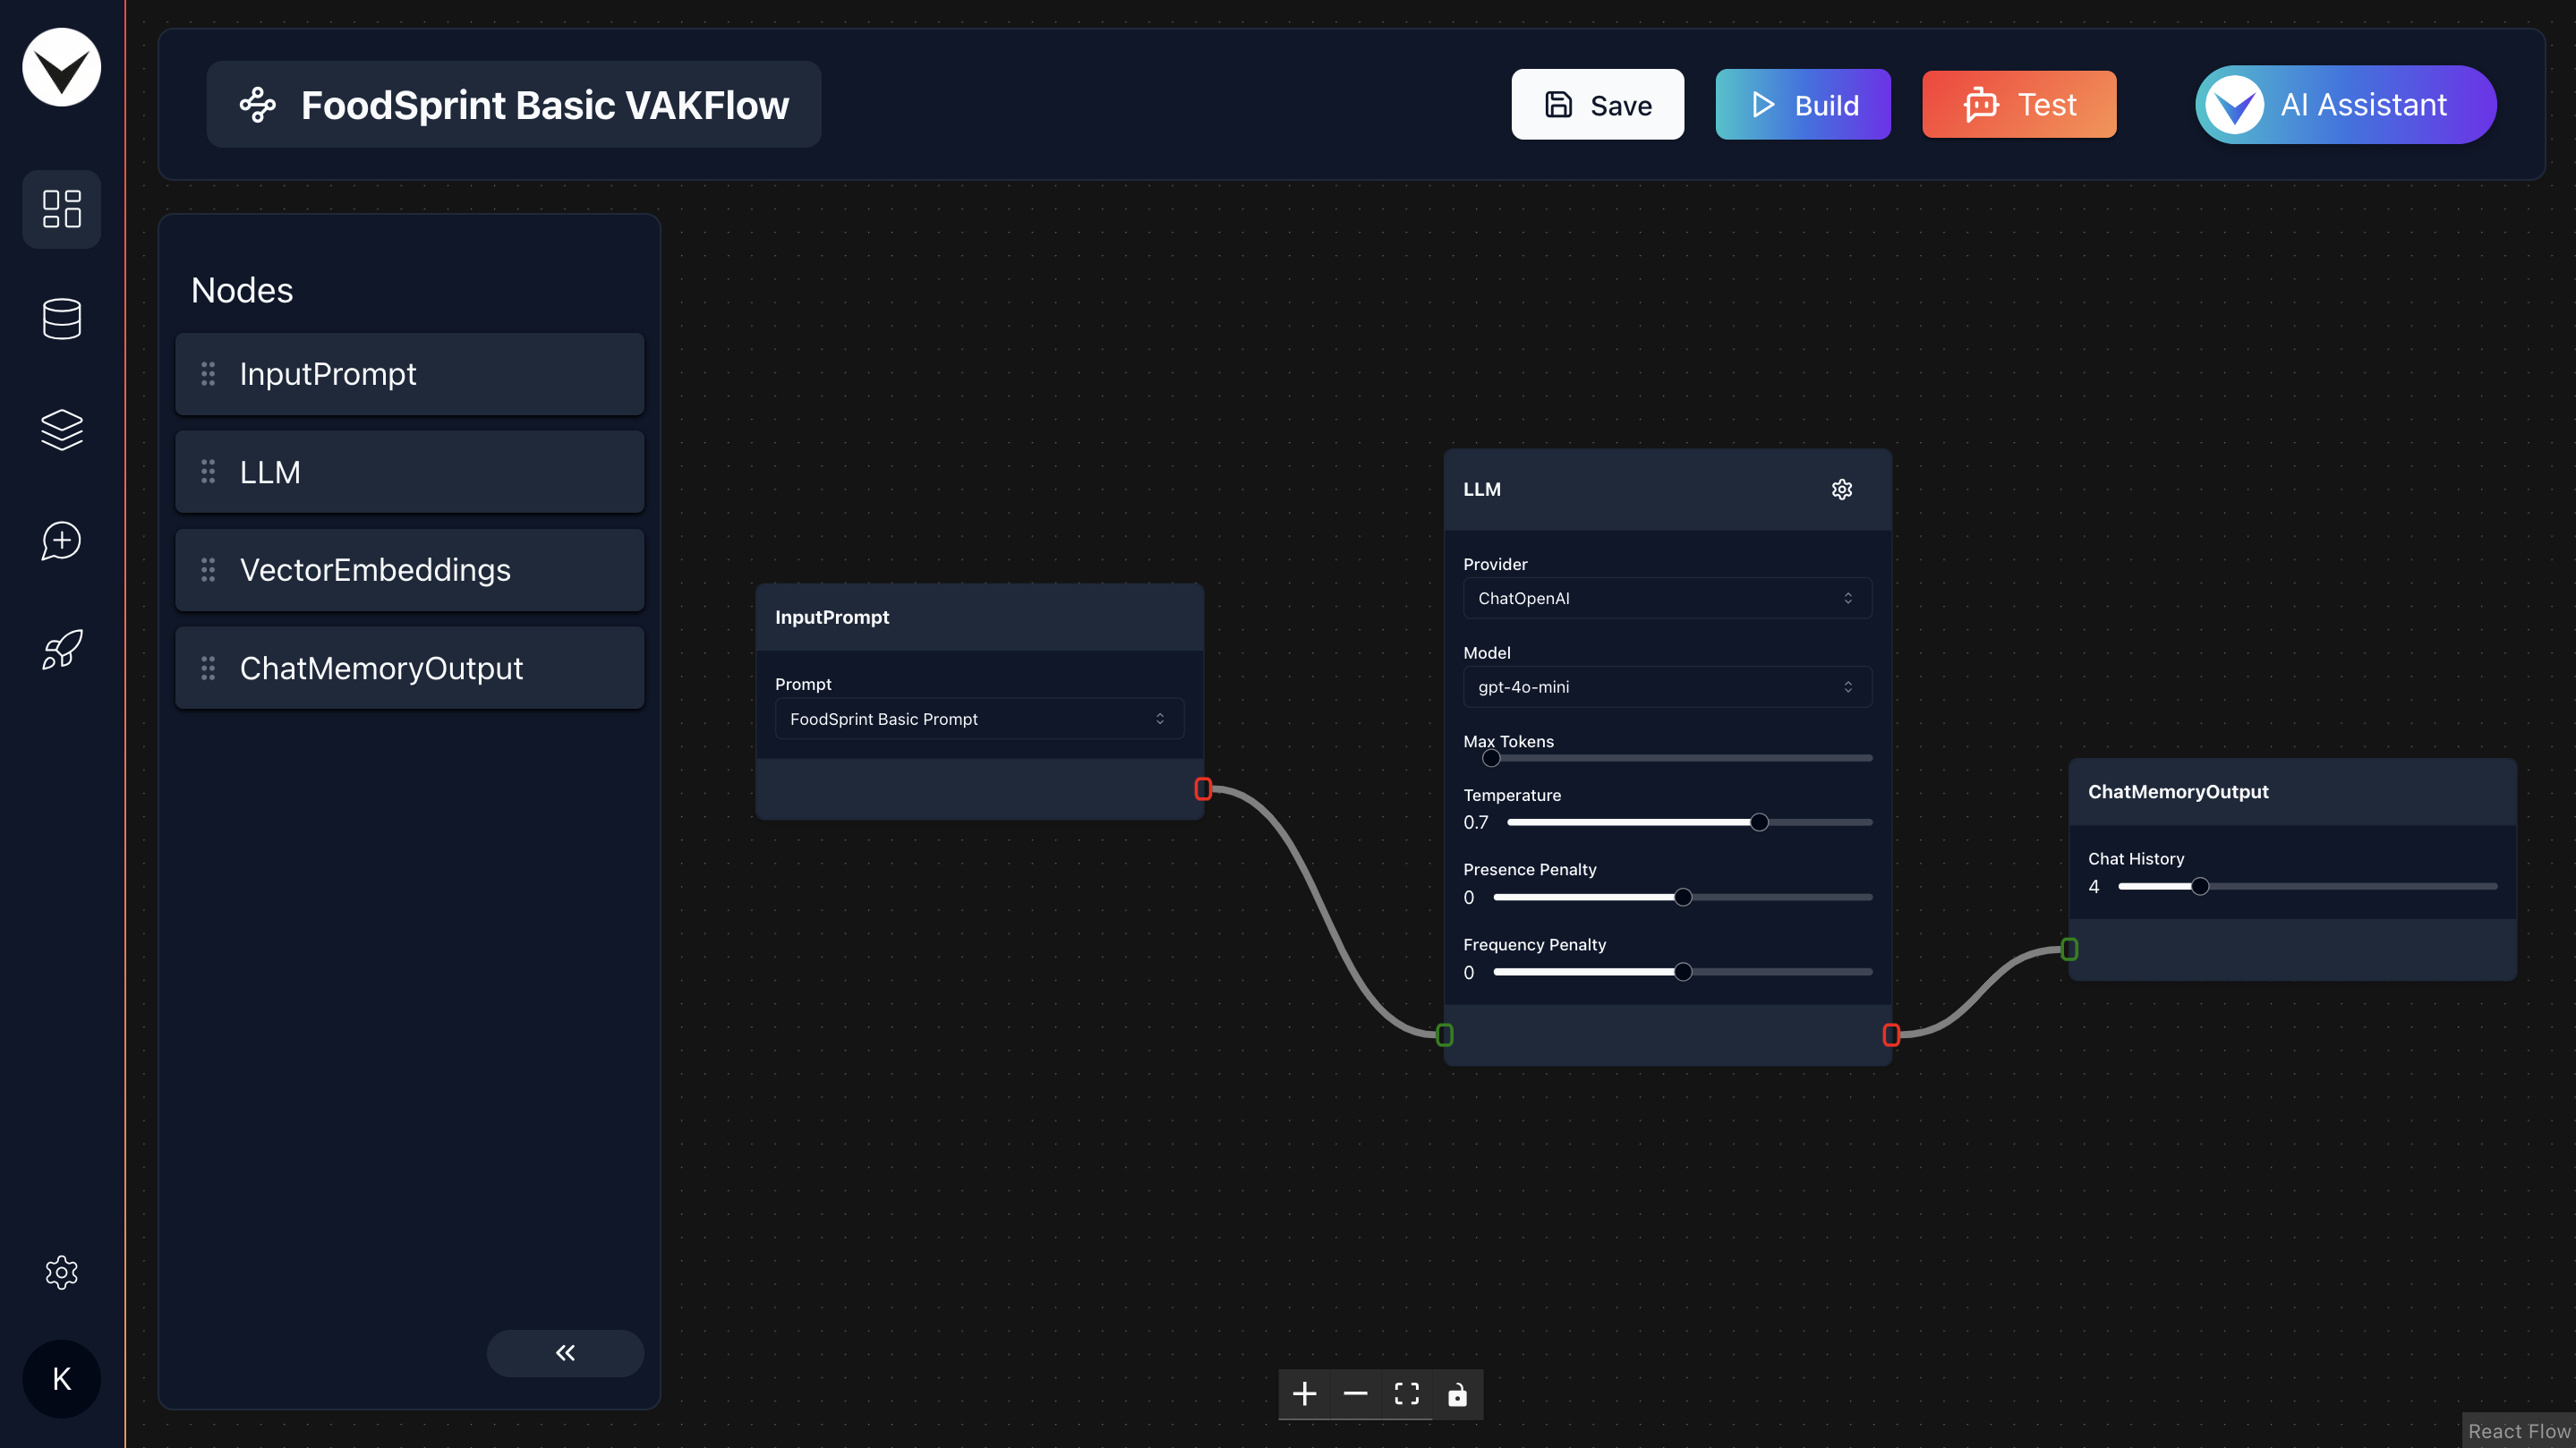
Step 5 : Creating a basic chatbot
Now that we have everything in place, let's go ahead and create a basic chatbot.
- After creating a VAKFlow, you will be automatically redirected to the newly created drag-and-drop LLM orchestration playground, where you can design, build, and test your chatbot.
- Drag and drop three nodes from left to right: InputPrompt, LLM, and ChatMemoryOutput.
- In the InputPrompt node, select the "FoodSprint Basic Prompt" template from the dropdown menu to activate the prompt we created in Step 3.
- Connect the output (red edge) of the InputPrompt node to the input (green edge) of the LLM node.
- Next, connect the output (red edge) of the LLM node to the input (green edge) of the ChatMemoryOutput node.
- Finally, click the "Save" button in the top right corner to save your VAKFlow changes.
The final VAKFlow should resemble the image provided below.
Step 6 : Build & Testing
- Now let's build the VAKFlow by clicking on "Build" button at the top-right corner, and you are ready to test the chatbot.
- To test the chatbot, click on "Test" button at the top right of the screen. This will open up a chat popup to interact with chatbot.

- Try asking :
- What are the payment options accepted by FoodSprint?
- I want to contact support. Give me details.
And that’s it! Your chatbot is now ready to use!
Optimizing Prompts
Keep in mind that your chatbot will respond based on the prompt you’ve provided. To achieve the best results, optimizing your prompt is crucial. For more advanced chatbots, you'll need to dynamically add RAG (Retrieval-Augmented Generation) contexts using vector embeddings. This process is explained in the Advanced RAG Chatbot: Quick Guide tutorial.
What Next?
- Have fun playing & experimenting with it!
- Experiment with prompt templates to build unique & interesting LLM applications.
- Experiment with different tunable paramters of nodes.
- Build Advanced RAG Chatbot for a website using RAG (Retrieval-Augmented Generation).
- Configure your chatbot to integrate the chatbot into your website/app using various options like VAKChat for ReactJS, Vanilla JS or REST API for streaming the response.